Sunrise at Awhitu Regional Park
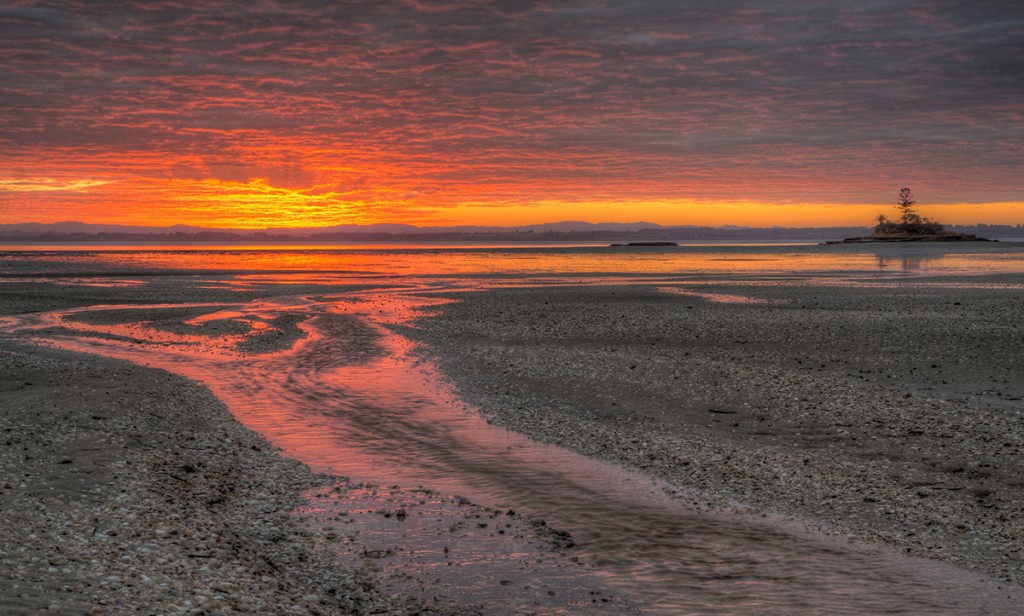
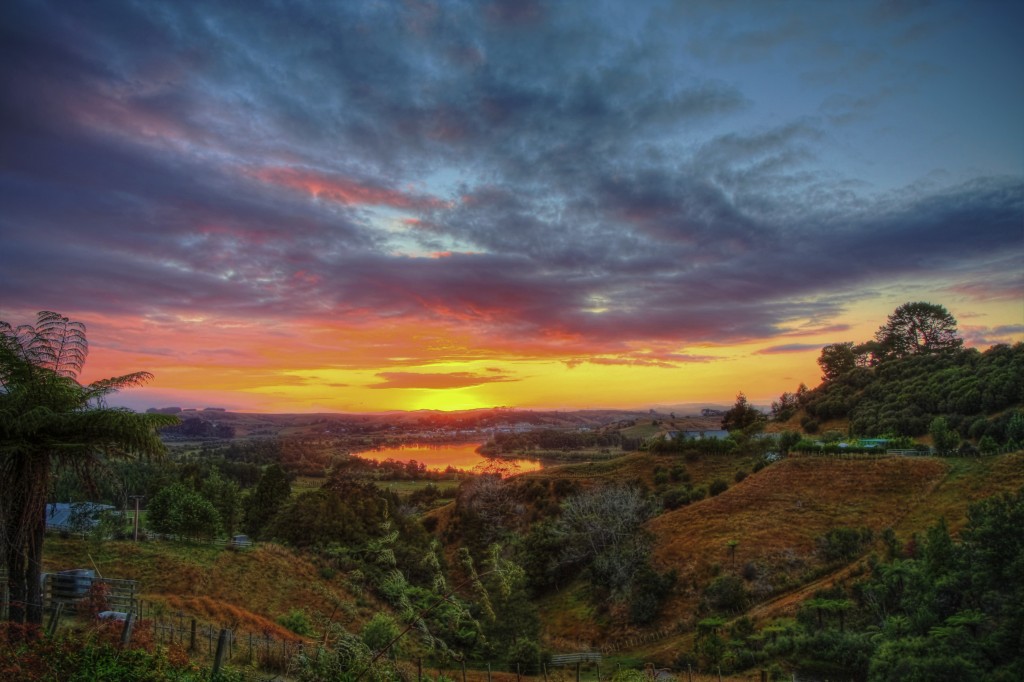
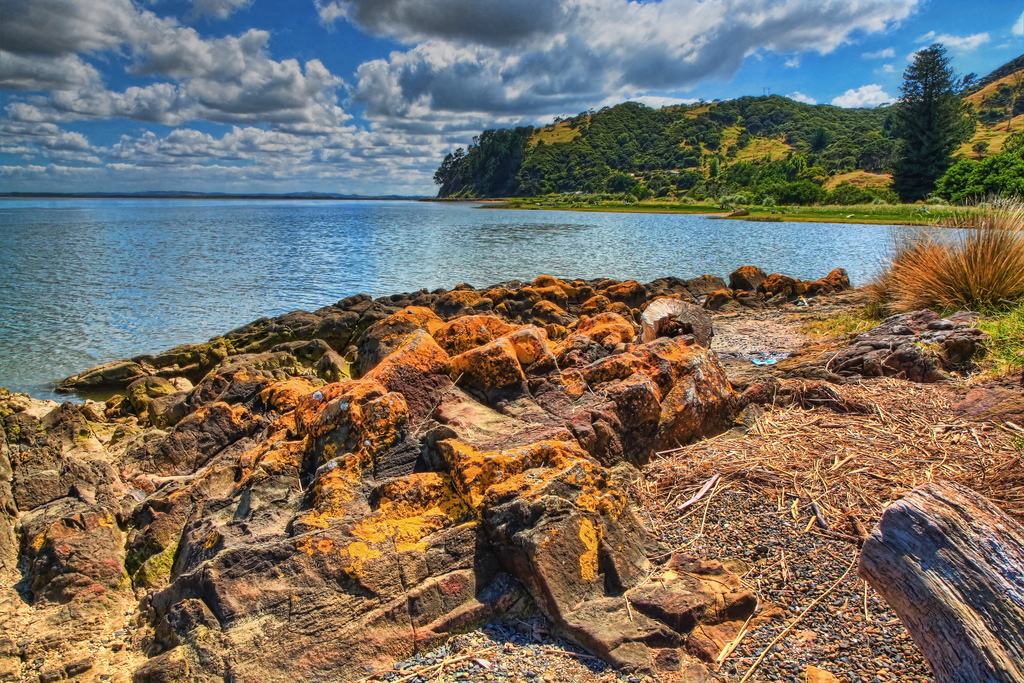
The other day I went out to catch the sunrise at a lovely beach I’d recently discovered. It’s along the Awhitu regional park, a wetlands restoration project bordering on the Manakau harbour. Here’s a shot taken just a couple of minutes before sunrise, when the colours are at their most intense.
The small island you can see on the right is Kauritutahi island. I felt a bit sorry for this island as it’s only an island at high tide..
Autobracketing : my camera, as with most Canons, only takes 3 autobracketed shots. But you can specify the exposure in 1/2 or 1/3 stops. So you can have -2, 0 and +2. Or -1.5, 0 +1.5. The maximum range is +-2 stops. And for nearly every conceivable shot this is sufficient, even a shot looking directly into the sun, with shady shadows, you can capture the whole scene OK. Sometimes you need to apply some exposure compensation.
Nikon users (I learnt from Trey) can only autobracket in 1-stop intervals. But their cameras can autobracket 5 or more shots.
Now it amuses me greatly when I read on some sites that some picture has been created from “9 autobracketed images”. Why? “Because they can” is the only real reply I think. Even -2,0,+2 is a bit much for many uses..
Often the image that accompanies such a shot does not contain any more dynamic range that can be captured with a single shot!
Anyway, in the spirit of “overdoing things just because you can” I present a *triple* tone mapped image!
It’s possible with Photomatix to re-tonemap and image after the initial tone mapping. This can give you nice results with a more even histogram. But it also often gives more noise and freaky colours. It’s easy to do; after you have created your HDR image and tone mapped it the first time (ie after the final image comes up when you click “Process”), you press Control-T, or do Process >> Tone Mapping from the main menu.
The shot above I took one step further and tone mapped three times. I could get away with this on the particular image as the colours were subdued to start with, and I felt that they needed some punch.
HDR Spotting Codes
I have some HDR spotting invite codes if anyone is interested. Drop me an email to bob at beausoft dot com with a link to your flickr page or other portfolio. I need to check out your work before inviting.
New Camera
Well not really. Or not yet. But I really have my eye on a Canon EOS 7D. If you can help me reach my goal here in any way I’d really appreciate it.. It’s such a great camera, and will no doubt improve the pics on this site. Ideally you’d send me money, but there are easier ways that don’t cost you anything..
Sponsored Links:
[ad code=2 align=center]
From the Skytower
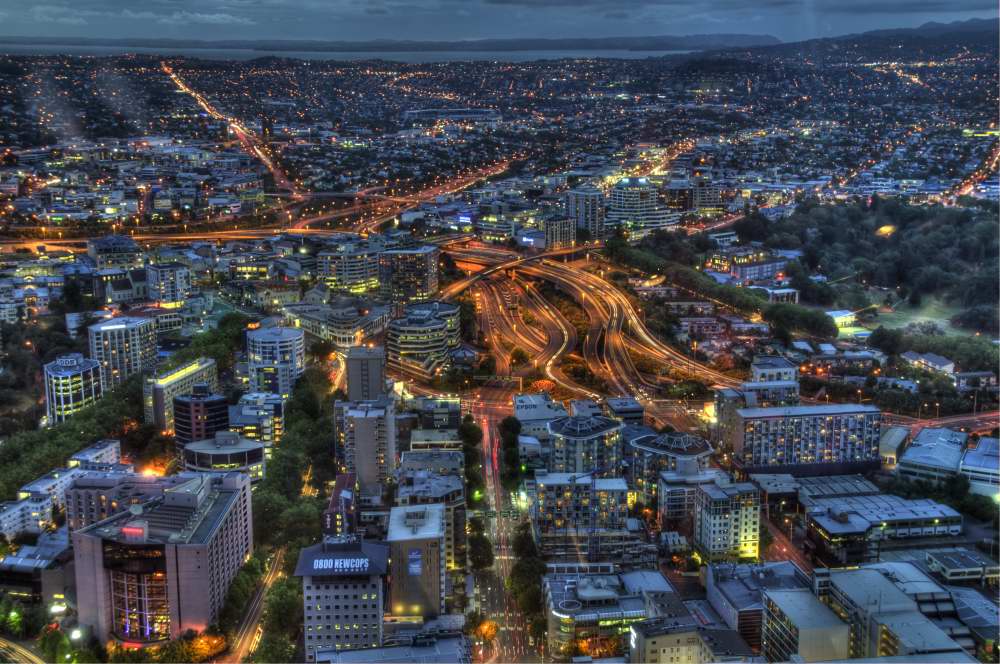
Today’s post is a guest shot from Chris Stott, another NZ HDRer. It’s taken from the top of the Skytower in Auckland.
The Skytower is Auckland’s “symbol” in many ways. It dominates the skyline from miles around. I can even see it from where I live, 40 miles away. It’s 328 meters high, making it the tallest free-standing structure in the southern hemisphere. It has a rotating observation deck (and restaurant).
Chris says “Camera is a Nikon D300 with a Nikon 18-200mm zoom. 5 shots taken at 1 stop intervals (-2, -1, 0, 1 2). Processing in Photomatix Pro. No twiddles before or after with Photoshop, Lightroom etc. I was pretty frustrated with not only the reflections of the various lights but also visitors light coloured clothing. Nevertheless, the image isn’t too bad.”
In any case, the view is spectacular; makes me want to get up there and take some shots myself. Thanks Chris!
KZ-1 Americas Cup Yacht
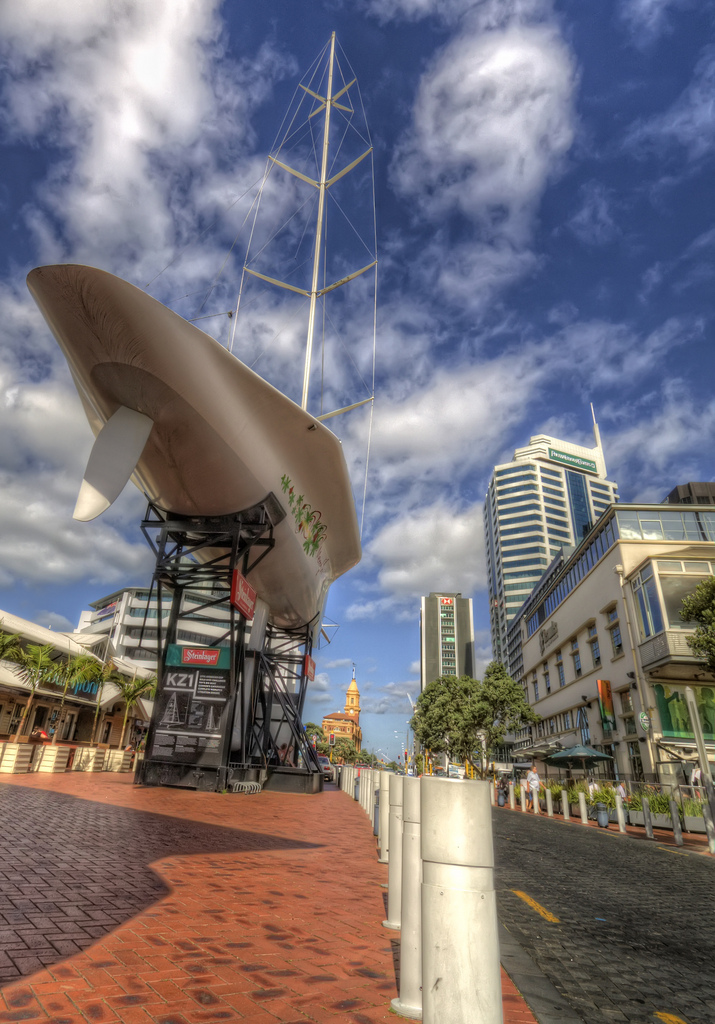
KZ1 is permanently on display outside the maritime museum in Auckland. I was there recently on the photowalk that Trey held around the viaduct basin in Auckland.
This boat took part in the strange Americas Cup challenge in 1988. New Zealand challenged the USA and built this boat according to the “deed of gift” that governs the cup. USA, defending the Cup again after winning it back from the Australians in 1987, were forced by the Courts to respond to a ‘rogue’ New Zealand challenge.
The challenge came about through Michael Fay, a merchant banker, who saw an opportunity in the Deed of Gift to initiate a direct challenge that would exclude other teams, and avoid the need for a challenger selection series. He built KZ-1 to take part in the challenge. It has the regulation 90ft waterline, but with bowsprit it runs to 130ft in length.
The Americans, lead by Dennis Connor built a catamaran, Stars and Stripes, which would all but guarantee their success (as it was much faster). The kiwis did not expect this.
The match turned out to be a very one-sided affair, with Stars and Stripes winning easily.
The launch ceremony for KZ-1 took place in Auckland in front of a crowd of more than 100,000. When you consider that Auckland has a population of around 1 million (and New Zealand at the time, 3.5 million) you can see that’s quite a crowd.
Shipped back to New Zealand after the America’s Cup, Sir Michael Fay offered the ‘Big Boat’ to the New Zealand National Maritime Museum in 1990. KZ-1 was placed on the quay and now dominates the Viaduct Basin, at the foot of downtown Auckland.
The picture was taken using an EF-S 10-22mm, set at 10mm.
Bridge at Hamilton Gardens
Here’s another shot from the photogenic Hamilton Gardens
I used the Photomatix “double tonemapping” technique here. I read about this being used in this tutorial and given that his results are so good I thought I’d give it a try. It does seem to give some added crispness, so I might use this technique some more in the future.
This was shot with an EF-S 17-55mm, set at 28mm
Today is an interesting day. I’ll be going out soon to central Auckland to meet with the famous Trey Ratcliff of StuckInCustoms fame. He’s in New Zealand on holiday with his family, and he’s having a photowalk (and talk afterwards). He’s even mentioned moving to NZ which would be good in some ways, but could foil my plans to become NZ’s most famous HDR photographer!
Sunrise at Te Toro
I got to know the Awhitu peninsular when a friend bought a house there around ten years ago. It’s a rocky peninsular bounded by the Tasman sea on one side, and Manakau harbour on the other. It’s windswept and in places, very beautiful. Because it runs north-south you can get sunrises one side and sunsets the other. Very handy! I captured this recently:
This is near the boatramp at Te Toro. There are many public boatramps in New Zealand where you can lauch your boat to go out for some fun on the water. Just as I was leaving a group of four arrived with their fishing boat, launched at set off for what I imagine to be a great day’s fishing (it was a goregous day). The waters here are famous for snapper.
Sunrise at Mercer
I went out this morning at the crack of dawn and captured this:
The water that you can see is the Waikato River, with Mercer in the center of the image.
I knew the sun rose at 6:46am and I’d previously looked on Google maps for a few likely spots where I could see the river. But these places were not accessible when I got there (as is often the case). I was getting desperate as the minutes ticked by. But I came across this location just a few minutes before the sun came up.
It’s taken with my 17-55mm (set at 17mm). Processed with Photomatix and Photoshop. Not much done in Photoshop, mostly just some “burning” to darken some parts of the foreground.
Waikato River
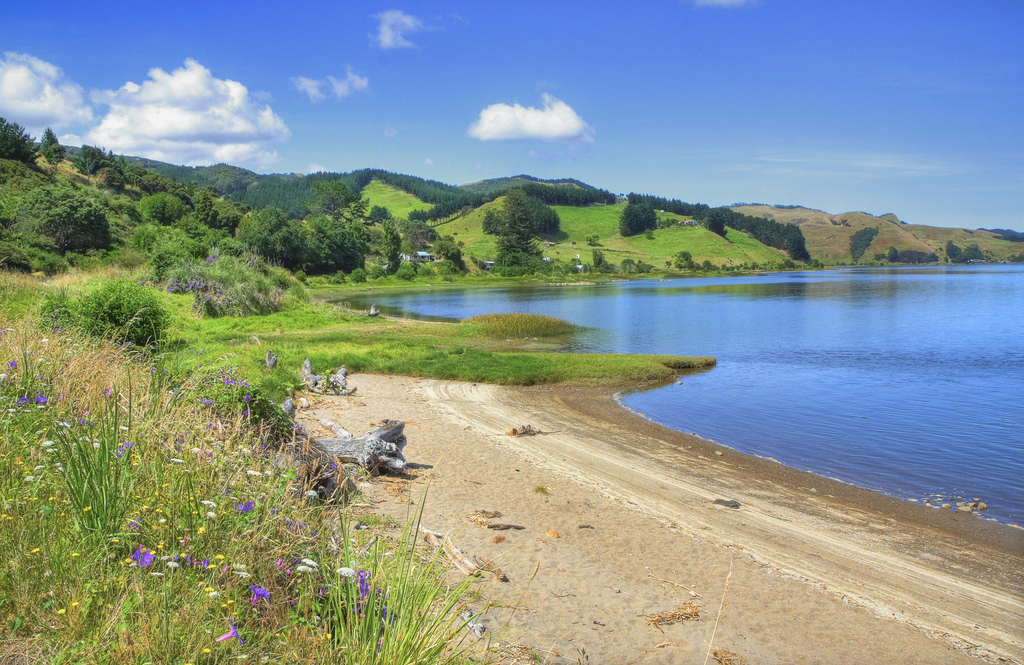
The Waikato River is the longest river in New Zealand. But being NZ it’s not that long really, only 475km. It starts on the slopes of Mt Ruapehu (an active volcano, located pretty much in the centre of the North Island), goes via Lake Taupo and finally drains into the Tasman Sea at Port Waikato. This picture is taken just a couple of miles from Port Waikato where the river is about 1km wide.
This shot is looking up the river, away from it’s mouth. It uses the normal “3-exposure Photmatix” to create an HDR, then it’s been post-processed in Photoshop using Topaz and some more Luminosity and Saturation masking.
Here is another shot taken the same day, looking the other direction, towards the sea (which is just behind those hills in the background).
This uses more naturalistic processing. The idea is to make it look like a regular photo, not an HDR. This required quite a bit of playing around to get it to look right. Some examples : the clouds were too blue, so their saturation had to be reduced. The beach was too dark and needed to be lightened. And so on.
Harker Reserve
This picture is a test-bed for several new processing techniques I’ve been trying, which I will explain later.
It’s the southern entrance to the Harker Reserve. This is a native bush reserve along the Waikato river.
To start with the basic HDR was made using Photomatix (of course). This was followed by some enhancement using Topaz Adjust.
I then used a new technique to blur the clouds using the kind of effect that’s much used by Trey Ratcliff (he calls it a Treyburst). I’ve only used a fairly mild version; I did this using the Photoshop Radial Blur filter. To do this you first mask off anything that’s not sky. You then apply radial blur, selecting the blur method as zoom. If the effect is too strong you can reduce the layer opacity (you did this on a duplicate layer, right?). I don’t know if this is how Trey does it, but it seems to produce a similar effect.
The next set of new techniques I used are Tony Kuyper’s Luminosity and Saturation masks, which are described on his website.
These are a selection of clever techniques that let you creatively and selectively adjust the brightness, contrast and saturation in an image. Best if you read it on his site rather than me trying to explain it. I’m not sure I’m using his tools in the best manner yet. I’m probably over-doing it somewhat. But I hope to learn how to drive these more in future.
But the basic idea is that you can target, for instance, the lighter parts of the image and apply an adjustment to just those parts. Or more accurately, predominately those parts (as one of the clever aspects of the technique is that the adjustment is “self feathering” so it does not produce any abrupt boundaries). Similarly you can increase the saturation of the least saturated parts of the image, leaving the more saturated parts the same.
Waterfall
Wright’s Water Garden is a small water garden open to the public located in Mauku. It’s been set up in an old quarry, and the main features are it’s waterfall along with multiple ponds.
An HDR shot works very well in this situation as it captures the bright highlights from the waterfall and the parts of the shot that are in full sunlight, while at the same time showing the shadows such as the undersides of the leaves. I like the way that the leaves in the foreground have an other-worldly look.
I’ll be posting some more shots later from Wright’s. It’s a very photogenic place with many different waterlilies, lotus plants and other water plants.
Heavy Metal
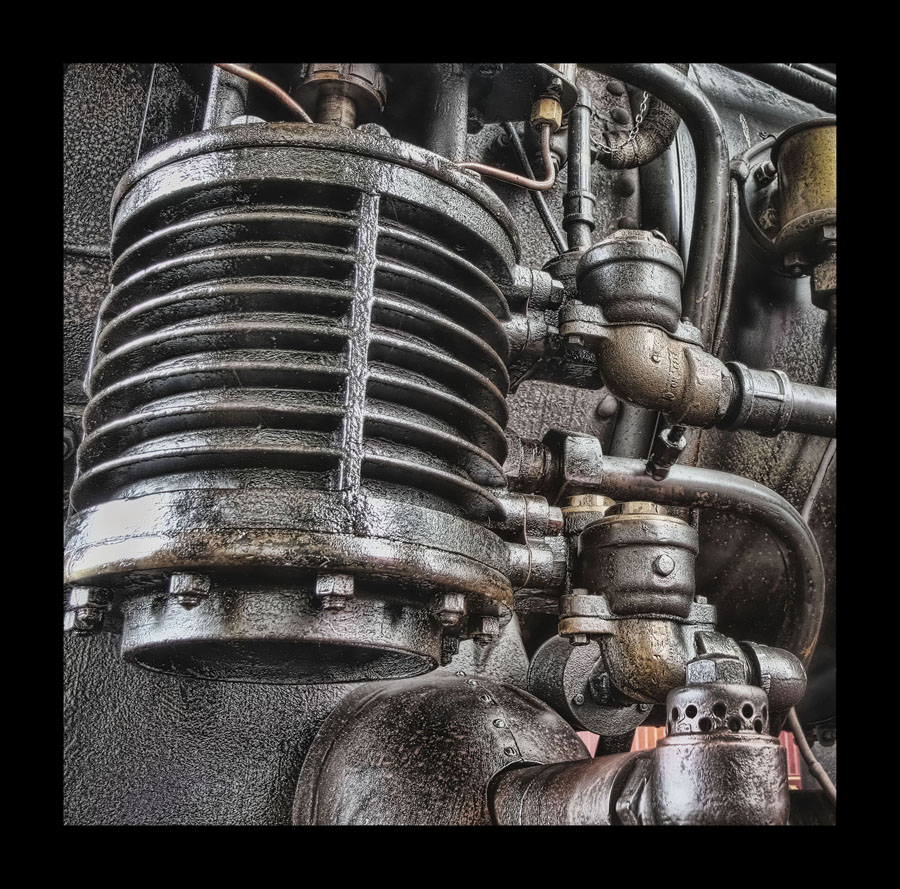
A different sort of post today – this one’s not natural beauty – it’s part of a steam train!
This shot was taken at the workshops of the Glenbrook Railway. This is a group of local enthusiasts that keep several steam trains running on some old track. I took the shot quite a while ago but was just recently playing with the processing.
I used Photomatix to create about 5 different processed HDRs. I mixed them together in Photoshop. Then used Topaz Adjust and Topaz Detail to get the effect shown.
Next post will be back to natural beauty I promise 
